
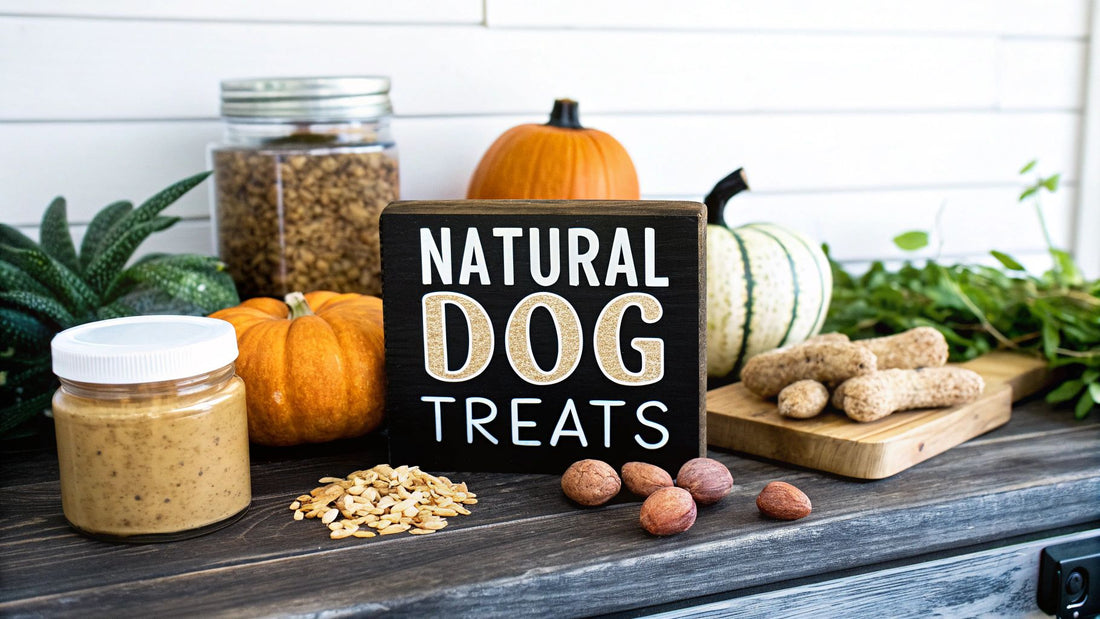
Easy Natural Dog Treat Recipes Your Pup Will Love
Taking the time to make your own natural dog treats is one of the best things you can do for your dog's health. You get to decide exactly what goes into their food, which means you can stick to whole, clean ingredients and ditch all the junk. So many store-bought treats are loaded with weird fillers, preservatives, and artificial stuff you'd never eat yourself.
Why Homemade Dog Treats Are a Healthier Choice
Baking for your dog is more than just a sweet gesture; it’s a real investment in their long-term health. Flip over a bag of commercial dog treats, and you’ll often find a novel of unpronounceable ingredients, from artificial colors and strange "flavorings" to chemical preservatives. Over time, these additives can be the culprits behind everything from an upset stomach to skin allergies.
When you make treats at home, you’re back in the driver's seat. You pick the flour, the protein, and fun extras like pumpkin or sweet potato. This is a game-changer, especially if your dog has specific dietary needs.
Customizing for Your Dog's Unique Needs
Got a dog with a sensitive tummy? Or maybe one who gets itchy from chicken or wheat? No big deal when you're the chef. Homemade recipes give you the freedom to tweak everything.
- Allergy Management: If your dog can't handle wheat, you can easily swap in oat, coconut, or chickpea flour for a grain-free treat.
- Weight Control: For pups who need to watch their figure, you can use lean proteins and low-fat binders like plain yogurt to keep the snacks light.
- Specific Health Support: Want to boost their health? It's easy to mix in ingredients with a purpose, like a little turmeric for achy joints or some fresh parsley to tackle that doggy breath.
You just can't get this kind of personalized nutrition from a mass-produced biscuit. You get to be your dog's personal baker, creating snacks that are perfectly suited to their body and what they love to eat.
The Rise of Pet Wellness
This whole movement toward homemade treats is part of a bigger shift. More and more, we see our pets as part of the family, and they deserve the same quality of care and nutrition we'd want for ourselves. It's a trend sometimes called "pet humanization," and it’s not just a feeling—it’s showing up in the market.
The global natural dog treat market was valued at around $6.2 billion in 2025 and is expected to hit $10.1 billion by 2030. That’s a huge jump, and it shows that pet parents everywhere are demanding cleaner, more honest ingredient lists. You can read the full research about the natural dog treat market trends to see just how much this is growing.
When you prepare treats yourself, you're not just giving your dog a snack. You're giving them a piece of your love and a commitment to their health, making sure every single bite is as good for them as it is delicious.
Stocking Your Pantry for Healthy Dog Treats
The secret to amazing homemade dog treats doesn’t start with a recipe—it starts with your pantry. When you have the right, dog-safe ingredients on hand, you can whip up a batch of healthy snacks whenever the mood strikes. No last-minute store runs, just pure, wholesome goodness for your pup.
Think of these staples as your dog-treat-making toolkit. They're simple, versatile, and packed with nutrients. I always keep these within arm's reach:
- Pure Pumpkin Purée: This is a digestive health superstar. Just be sure you grab 100% pure pumpkin, not the pie filling loaded with sugar and spices. It’s an easy mistake to make!
- Plain Rolled Oats: A fantastic alternative to wheat flour, especially if your dog has a sensitive stomach. They provide great texture and a nice dose of fiber.
- Natural Peanut Butter: Dogs go crazy for it, but you have to be careful here. The only ingredient should be peanuts. Critically, check the label to ensure it contains no xylitol, an artificial sweetener that’s extremely dangerous for dogs.
- Sweet Potatoes: These are vitamin powerhouses. You can mash or purée them to use as a natural binder that adds a touch of sweetness to your treats.
This simple shift in how you stock your kitchen really puts you in the driver's seat of your dog's nutrition.
As you can see, it all comes down to purity, control, and wellness. You decide exactly what goes into their bowl.
Knowing What to Avoid
Just as crucial as knowing what to stock is knowing what to keep far away from your dog. Many everyday human foods are surprisingly toxic to them. Turning your kitchen into a canine-safe zone means getting familiar with the no-go ingredients. Honestly, this is the most important part of being a responsible dog-treat chef.
Peace of mind is the best ingredient you can add to any recipe. Baking with confidence, knowing everything you're using is safe and beneficial, makes the whole experience so much better.
To make things easier, I've put together a quick-reference table. It helps you quickly spot the good stuff versus the ingredients that should never make it into your dog's treats.
Dog-Safe vs. Toxic Pantry Ingredients
| Safe Ingredient | Benefit for Dogs | Toxic Ingredient to Avoid |
|---|---|---|
| Plain Greek Yogurt | Probiotics for a healthy gut | Xylitol (found in some yogurts) |
| Carrots | A great source of Vitamin A | Onions and Garlic |
| Blueberries | Loaded with powerful antioxidants | Grapes and Raisins |
| Apples (seeds removed) | Good source of fiber and vitamins | Chocolate and Caffeine |
Remembering these simple swaps will keep your baking sessions fun and worry-free.
A final tip from my own experience: always read the labels when you're shopping. You'll often find that buying the human-grade, single-ingredient version is way cheaper than the fancy "pet-branded" alternative. A big can of pure pumpkin from the baking aisle, for instance, is a much better deal than the tiny can marketed for dogs. Building these smart shopping habits makes baking natural dog treats easy, safe, and affordable.
Crafting No-Bake Peanut Butter Pumpkin Balls
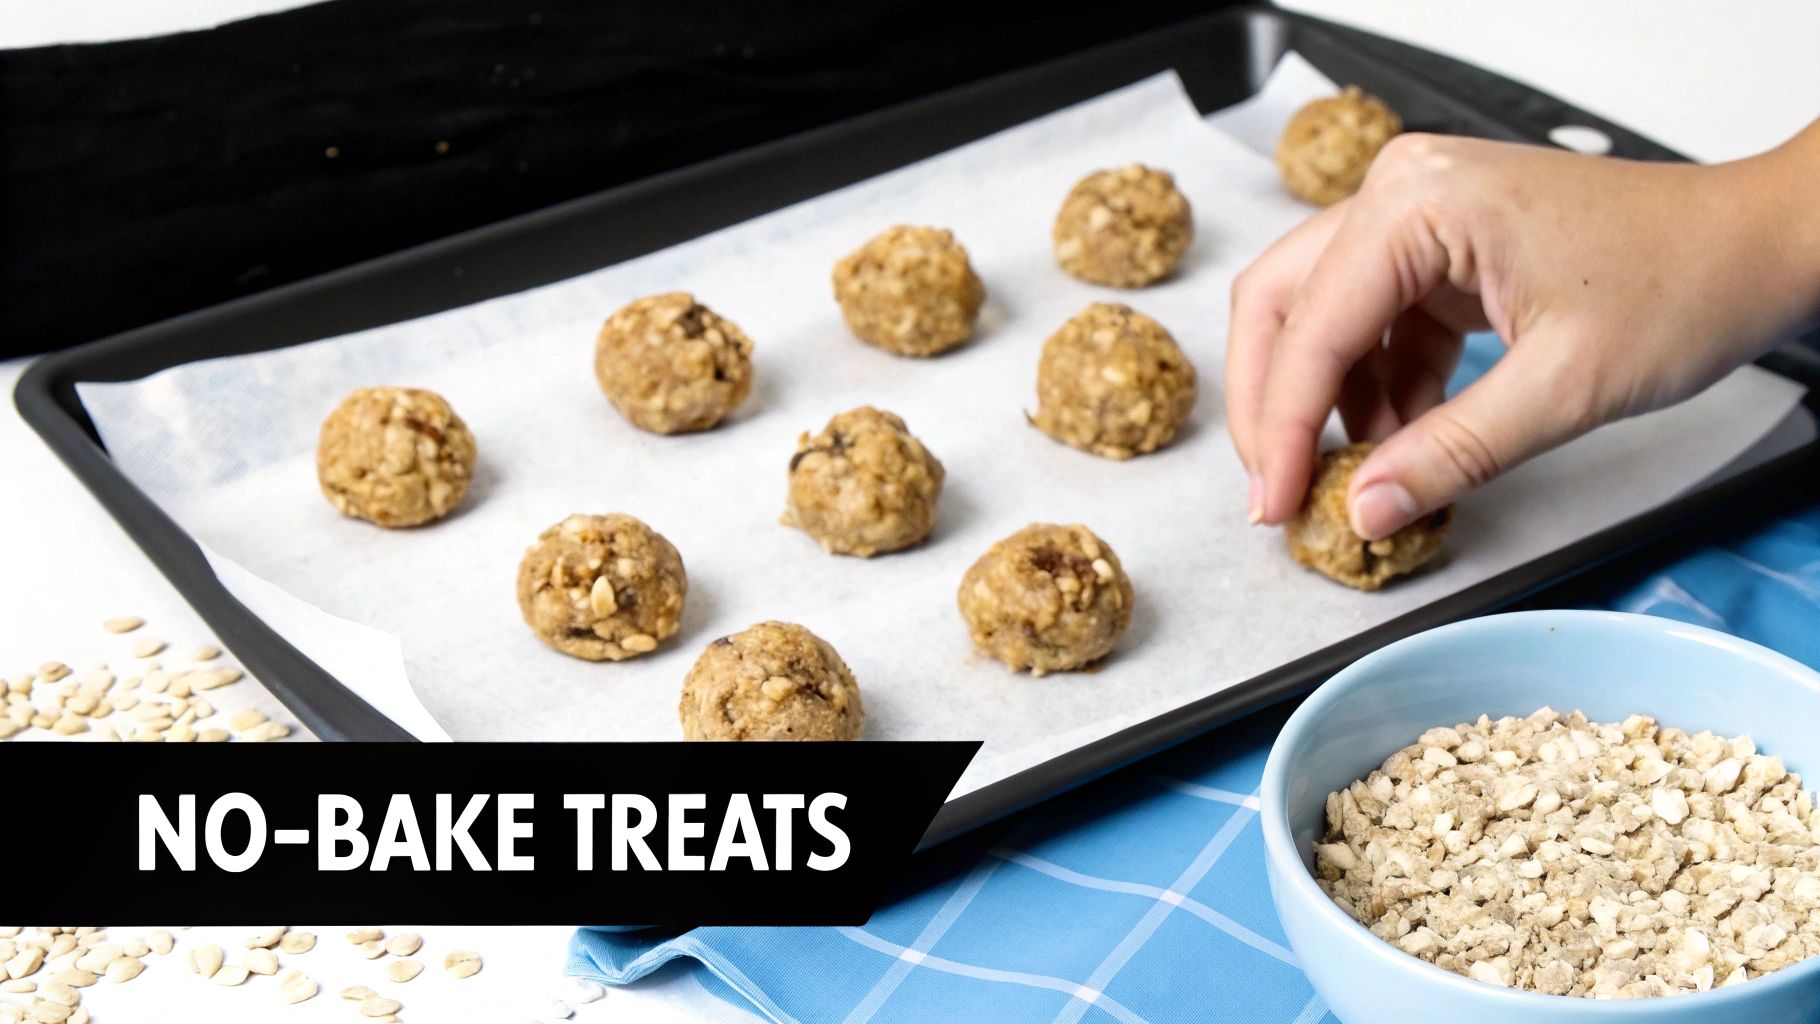
Sometimes the best treats are the ones that don't even need an oven. These no-bake peanut butter pumpkin balls are my go-to when I need a quick, healthy snack for my pup. They’re incredibly simple, packed with good stuff, and a total lifesaver when I'm short on time but still want to give my dog something special.
You only need three core ingredients, which makes this recipe perfect for anyone, no matter your skills in the kitchen. Just grab some rolled oats, pure pumpkin purée, and a quality, dog-safe peanut butter. The simplicity is what makes it so brilliant.
The real trick is mixing these ingredients into a "dough" that’s firm enough to roll but not a sticky mess. It's a bit of a balancing act, but once you get the feel for it, you can whip these up in minutes.
Assembling Your Ingredients
Before you start mixing, let’s talk about the stars of the show. Each ingredient does more than just contribute to the texture—it adds real nutritional value to these little morsels.
- 1 cup Rolled Oats: Oats provide the structure here and are a fantastic source of soluble fiber, which is great for your dog's digestion. Here’s a pro tip: I like to blitz about half the oats in a blender to create a fine oat flour. It really helps bind everything together.
- ½ cup Pure Pumpkin Purée: Always double-check that you're grabbing 100% pure pumpkin and not pumpkin pie filling, which is loaded with sugar and spices. Pumpkin is a powerhouse for digestive health, helping with both constipation and diarrhea.
- ⅓ cup Xylitol-Free Peanut Butter: This is absolutely non-negotiable. The sweetener xylitol is extremely toxic to dogs, so please, always read the label. If you want to dive deeper into picking the right one, check out our guide on the benefits of organic peanut butter for dogs.
Just toss everything into a medium-sized bowl and mix until a thick, cohesive dough forms. It's a pretty forgiving recipe, so don't stress if your measurements aren't perfect.
Perfecting the Texture and Form
Once your ingredients are well-mixed, the fun part begins. Is the mixture feeling a little too wet or sticky? Just add another tablespoon of rolled oats at a time until it's easy to handle. If it seems too dry and crumbly, a small spoonful of pumpkin purée or even a splash of water will bring it right back together.
I’ve found that chilling the mixture in the fridge for about 15-20 minutes makes a world of difference. It becomes much less sticky and way easier to roll. This little trick is a lifesaver and prevents a frustrating, sticky mess all over your hands.
A well-formed treat isn't just about looks; it's about creating the perfect bite-sized snack that's easy for your dog to enjoy. Don't be afraid to adjust the ingredients slightly to achieve that perfect, rollable consistency.
After the dough has chilled, just scoop out tablespoon-sized portions and roll them between your palms into neat little balls. This recipe should give you about 15 to 20 treats, depending on how big you make them.
Fun and Nutritious Variations
This base recipe is fantastic on its own, but I love using it as a canvas for adding extra nutrients and flavors. This is where you can really get creative and customize the treats for your own dog.
Try rolling the finished balls in some fun, healthy coatings:
- Finely Shredded Carrots: Adds a bit of crunch and a boost of Vitamin A.
- Chia Seeds or Ground Flaxseed: These are excellent sources of omega-3 fatty acids for a healthy, shiny coat.
- Unsweetened Shredded Coconut: Gives the treats a tropical twist and some extra fiber.
These simple additions don't just make the treats look more appealing; they pack an extra nutritional punch, turning a simple snack into a versatile favorite your dog will absolutely adore.
Baking Crunchy Sweet Potato Turmeric Biscuits
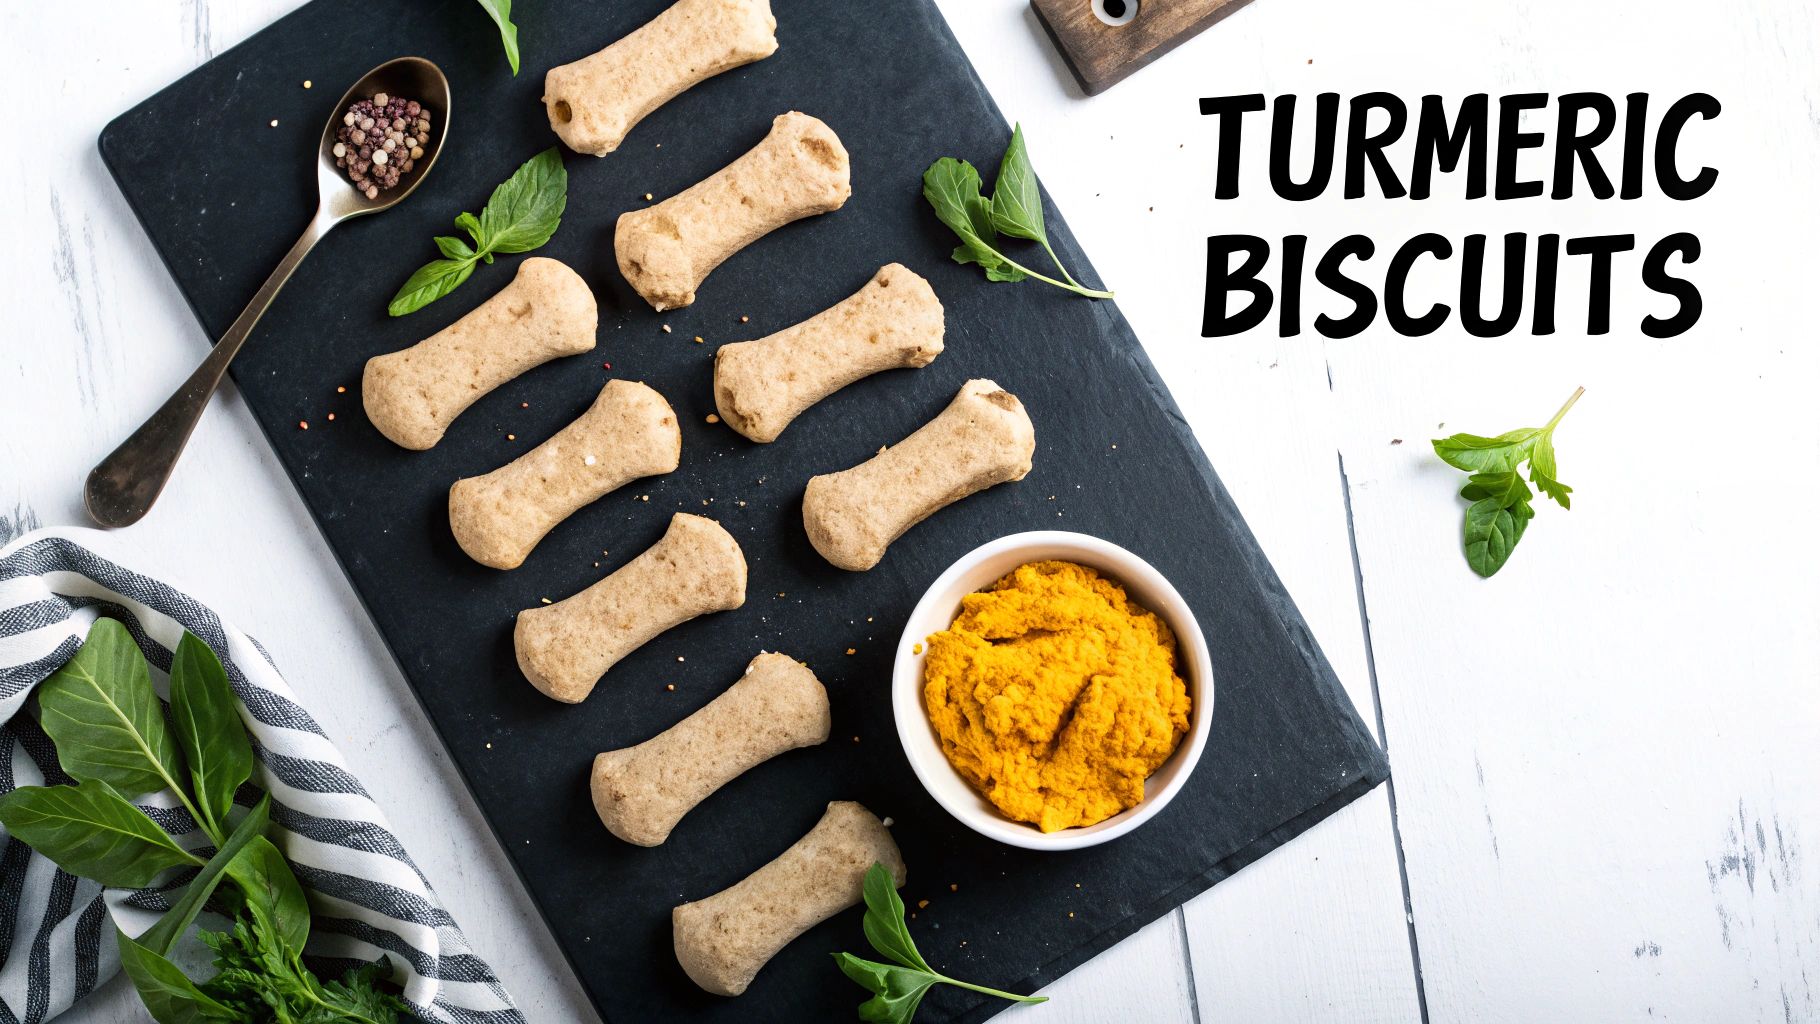
If your dog is one of those pups who goes absolutely wild for that satisfying crunch, this recipe is about to become a staple in your home. These baked biscuits are a fantastic blend of earthy sweet potato and the powerful, joint-supporting goodness of turmeric. The result? A vibrant, golden-orange treat that honestly looks like it came from a high-end dog bakery.
This recipe is a perfect example of how you can recreate those premium, store-bought snacks using just a few simple, whole ingredients right in your own kitchen. It's no secret that the demand for high-quality pet products is on the rise. In 2024, the U.S. natural dog treat market alone generated a revenue of $3,051.8 million, with projections soaring to $6,040.2 million by 2030. You can see more on the growth of the natural dog treat market and how much pet parents are prioritizing clean ingredients.
Gathering Your Golden Ingredients
The real beauty of this recipe is just how simple it is. You'll only need a handful of pantry staples to whip up a batch of these beneficial biscuits.
- 1 cup Cooked, Mashed Sweet Potato: This acts as your natural sweetener and binder. Just make sure it's completely cooled down before you start mixing.
- 2 ½ cups Whole Wheat Flour: This gives the biscuits their sturdy structure. Keep a little extra on hand in case your dough feels too sticky.
- 2 Large Eggs: These are essential for binding everything together and adding a nice boost of protein.
- 1 teaspoon Ground Turmeric: This is our star player, famous for its anti-inflammatory properties.
- A pinch of Black Pepper: Don't skip this! Black pepper contains piperine, which is crucial for helping your dog's body absorb all the beneficial curcumin from the turmeric.
This combination creates a true powerhouse for canine health, and it's especially great for active dogs or seniors who could use a little extra joint support.
The Power of Turmeric
Turmeric is so much more than a colorful spice. Its active compound, curcumin, is celebrated for its incredible anti-inflammatory effects, making it a fantastic addition to treats for dogs dealing with arthritis or general stiffness.
If you're new to using this spice for your pup, it's always smart to learn about proper serving sizes. You can check out our detailed guide on whether dogs can safely eat turmeric for more in-depth info. When you pair it with the vitamins and fiber from sweet potato, you're not just making a snack—you're creating something truly functional.
Crafting the Perfect Biscuit Dough
First things first, get your oven preheating to 350°F (175°C) and line a baking sheet with parchment paper. This little step prevents sticking and makes cleanup so much easier later.
In a large bowl, give the eggs a quick whisk, then mix in the cooled, mashed sweet potato until the mixture is nice and smooth.
Now, add the whole wheat flour, turmeric, and black pepper. Stir everything together until a stiff, workable dough starts to form. I often find it's easiest to just get in there with my hands for the final few mixes to make sure it's all well combined. The dough should feel firm, not overly sticky.
Tip from my kitchen: If the dough feels a bit too wet (the moisture in sweet potatoes can vary a lot!), don't be afraid to add more flour, one tablespoon at a time. The goal is a non-sticky dough that's easy to roll out.
Lightly flour a clean counter or board and roll the dough out to about a ¼-inch thickness. This is the fun part! Use your favorite cookie cutters to make fun shapes. Bone shapes are a classic, but circles or hearts work just as well. Arrange the biscuits on your prepared baking sheet.
Bake them for 25-30 minutes. You'll know they're done when the edges are golden brown and the biscuits are hard to the touch. For an extra crunchy finish, I like to turn off the oven and let the treats cool inside with the door slightly ajar. This helps dehydrate them even more, giving them a longer shelf life and that amazing crunch your dog loves.
Storing Homemade Treats for Freshness and Safety
You’ve spent the time and effort making wholesome, delicious snacks for your dog, so let's make sure they stay fresh and safe for as long as possible. How you store your natural dog treats isn't just about preventing them from going stale; it’s a critical step in keeping your pup healthy. The right method really comes down to the ingredients you used and whether the treats are baked or not.
No-bake treats, like the peanut butter pumpkin balls, are loaded with moisture from ingredients like pumpkin purée. Because of that high moisture content, they have to be kept in an airtight container in the fridge. Handled this way, they should be good for up to a week. If you ever spot anything fuzzy or catch an off-smell, play it safe and toss them out.
On the other hand, baked treats like the crunchy sweet potato biscuits have a much longer shelf life. The baking process zaps most of the moisture, which is what helps preserve them. Just let them cool completely, then pop them into an airtight container on the counter. They’ll stay fresh for a solid two to three weeks.
Long-Term Storage Solutions
Want to make your hard work last? Freezing is my secret weapon. It works for just about any homemade treat, whether it's baked or no-bake. This is a game-changer because you can make a huge batch all at once and have healthy snacks on hand whenever you need them.
Here's how I do it to avoid a giant frozen treat-clump:
- Flash Freeze First: Spread the treats out on a baking sheet in a single layer. Stick them in the freezer for about an hour, or until they're solid. This simple step keeps them from sticking together later.
- Bag Them Up: Once they're frozen solid, you can transfer them into a freezer-safe bag or container.
- Label and Date: Don't forget to label the container with what’s inside and the date you made them. They'll keep beautifully in the freezer for up to three months.
This little bit of extra effort means you're always ready with a wholesome reward for your best friend. For a deeper dive into best practices, check out our comprehensive guide on how to properly store pet food.
The container you choose is just as important as where you store it. It’s your first line of defense against air and moisture—the two things that will ruin your treats fast. A good airtight seal is an absolute must-have.
When it comes to picking containers, you want something practical and safe. I’ve found that collapsible silicone food containers are fantastic; they save space and are perfect for keeping treats fresh, whether you're at home or out on an adventure.
This mindful approach to storage reflects a much bigger shift in the pet world. In fact, over 60% of consumers are now looking for eco-friendly packaging and ethically sourced ingredients, which is pushing the whole industry toward better, more sustainable habits. This conscious mindset applies to everything from the ingredients we buy to the containers we use. Storing your treats in reusable containers is a small but powerful way to be a part of that positive change.
Got Questions About Homemade Dog Treats? I’ve Got Answers.
Jumping into making your own dog treats is a blast, but it's totally normal to have a few questions. You might wonder about swapping ingredients or how many treats are too many. Let's clear up some of the common questions I hear from fellow pet parents.
Getting these basics down will give you the confidence to get creative in the kitchen and whip up snacks your dog will go crazy for.
Can I Use Different Flours in These Recipes?
Of course! That's one of the best parts about baking for your dog. If you know your pup has a sensitivity to wheat, you've got a ton of fantastic alternatives. I often reach for oat, coconut, or chickpea flours for a grain-free option.
Here’s a tip from experience: different flours soak up liquid at very different rates. Coconut flour, for example, is like a sponge. My go-to trick is to hold back a little of the liquid the recipe calls for. I add it back in slowly, just until the dough feels right. This little step has saved me from many sticky, unworkable dough disasters.
How Many Homemade Treats Can My Dog Have Each Day?
This is such an important question. Even with healthy, homemade snacks, moderation is everything. The golden rule from vets is that treats should never be more than 10% of your dog's total daily calories. Sticking to this guideline is the best way to prevent weight gain and keep their diet balanced.
So, what does that look like in reality? For a small, less active dog, that might be just one or two small biscuits a day. A big, high-energy dog could probably have a few more. When in doubt, a quick call to your vet is always a good idea for advice tailored specifically to your dog.
Remember, homemade treats are a supplement to a balanced diet, not a replacement for their meals. Think of them as a special, healthy bonus.
What if I Have a Really Picky Eater on My Hands?
Ah, the fussy dog. It can feel like a tough crowd, but I've learned a few simple tricks to win them over. For most picky pups, a strong, enticing smell is the secret weapon.
- Try adding a splash of low-sodium, onion-free chicken or beef broth to the dough for a savory kick.
- I've also had great luck mixing in a spoonful of mashed banana for a touch of sweetness or some finely chopped parsley for an herby aroma.
- Gently warming the treat in the microwave for just a few seconds before serving can also make it smell absolutely irresistible.
At Joyfull, we believe that a healthful life isn’t just for humans—our pets deserve it, too. Explore our range of clean-ingredient snacks designed for your pet's wellness at https://joyfullpet.com.