Easy Homemade Dog Treats Recipe Your Pup Will Love
When you decide to bake your dog's treats from scratch, you're taking complete control over their nutrition. It’s a huge step up from store-bought snacks that are often packed with questionable preservatives. This gives you the power to feed your best friend simple, wholesome ingredients—a real game-changer, especially for pups with sensitive tummies or allergies.
Why Baking Homemade Dog Treats Matters
Making treats for your dog is about so much more than just a tasty bite. It's a genuine commitment to their health and a fantastic way to deepen your bond. When you're the one measuring out the ingredients, you get to skip all the fillers, artificial colors, and weird preservatives that litter the labels of many commercial products. Instead, you can focus on things that actually do some good, like pumpkin for better digestion or a little salmon for a glossy coat.
This move toward cleaner eating for our pets isn't just a fleeting trend; it’s a major shift in how we see our animal companions. The global market for natural dog treats was valued at an impressive USD 6.26 billion in 2023 and is expected to more than double by 2030. This growth is fueled by pet parents like us who see our dogs as family and demand better, more organic options for them.
Honestly, for many of us, the best part is just seeing our dog's happy dance while they wait for a treat made with love. It turns a simple snack into a meaningful moment.
The Perks of a DIY Approach
Opting for a homemade dog treat recipe gives you some clear wins over just grabbing a bag off the shelf. You're not just baking; you're playing an active role in your dog's health and happiness.
- Total Ingredient Control: You know exactly what's in every single bite. This makes it a breeze to avoid allergens or ingredients that just don't sit right with your dog's system. It’s absolutely crucial for dogs with specific dietary needs.
- It's Budget-Friendly: In the long run, whipping up a big batch of homemade treats is often way cheaper than buying those fancy, all-natural biscuits from a pet boutique.
- Guaranteed Freshness: Without all those commercial preservatives, your treats are naturally fresher and more wholesome. If you're looking for inspiration, you can check out our guide on the healthiest treats for dogs for more great ingredient ideas.
- A Stronger Bond: There's something special about the act of baking for your pet. It’s a unique way to show them you care, and you can bet they'll appreciate the effort (and the delicious results).
What You'll Need: Our Go-To Peanut Butter & Pumpkin Ingredients
Before we start mixing, let’s talk about what goes into these treats. I’ve found that the best recipes use simple, wholesome ingredients you can find at any grocery store. It’s all about knowing what you’re feeding your pup and why it's good for them. This recipe is a favorite in my house, and every component has a purpose—both for flavor and for your dog’s health.
When you're making treats from scratch, you have complete control. That peace of mind is priceless. You’re not just baking; you're creating something genuinely good for your best friend.
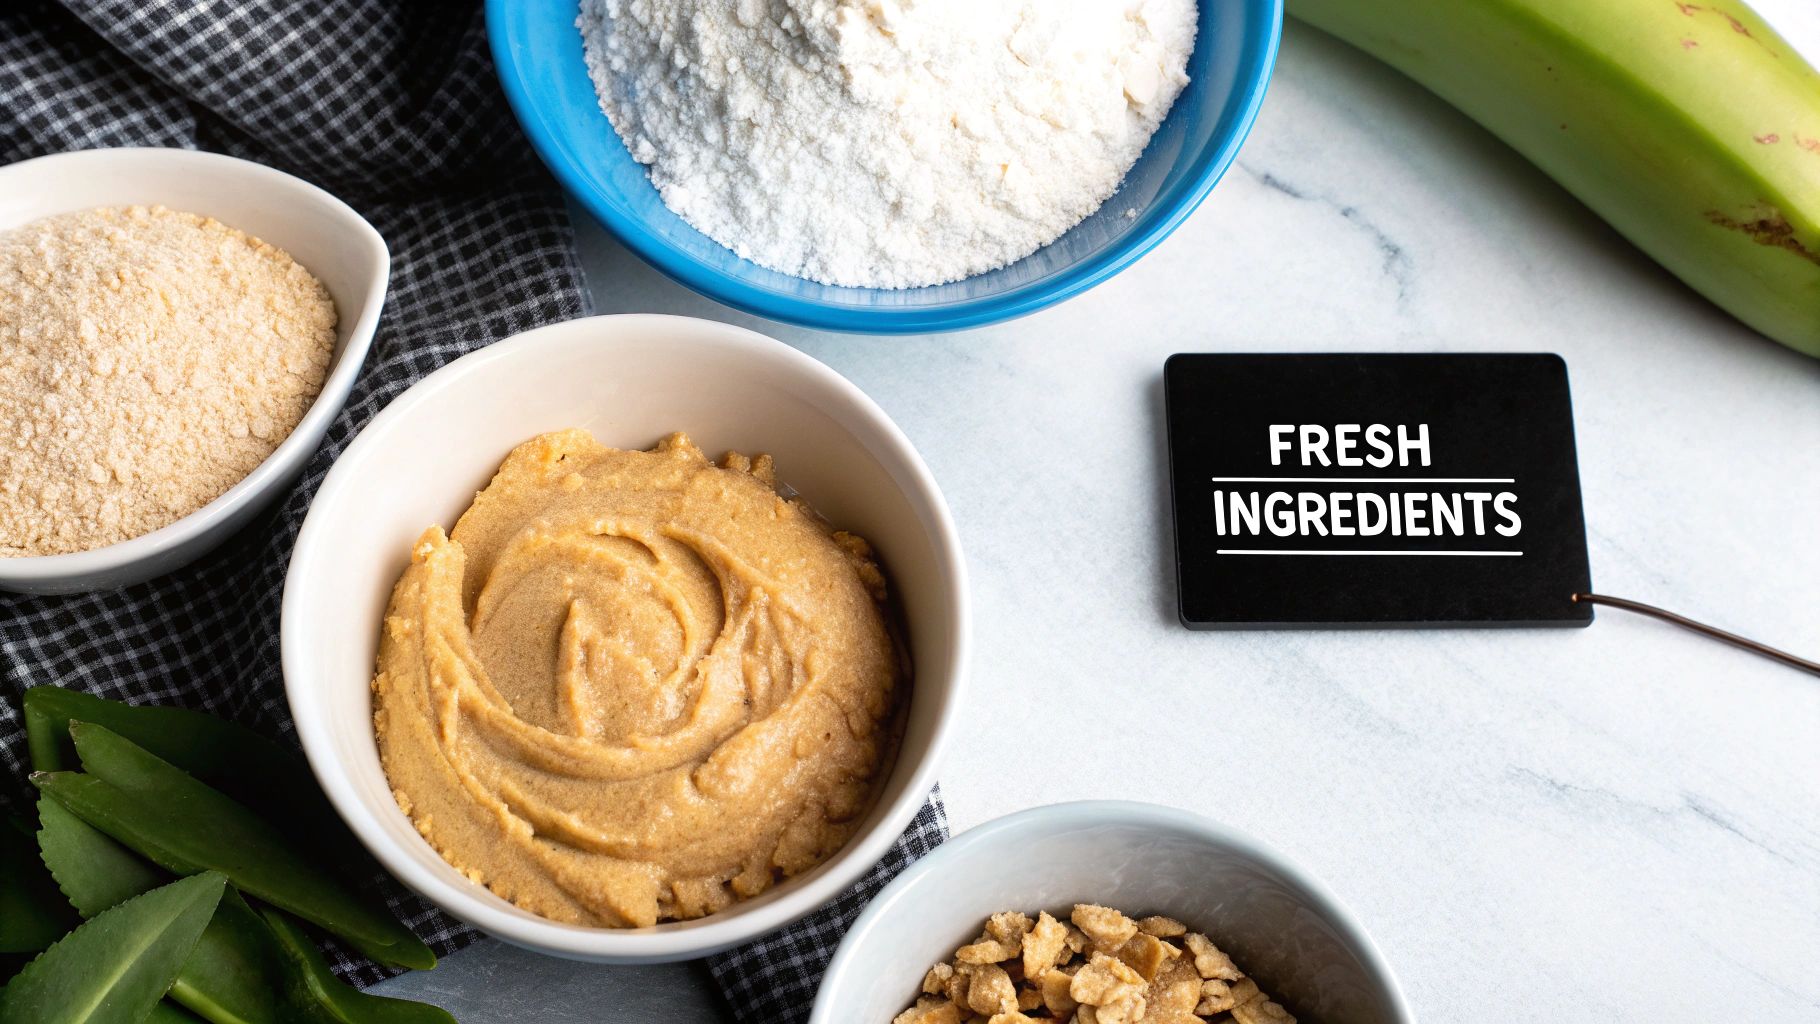
A Closer Look At The Key Ingredients
This recipe is built on four simple, powerful ingredients. Getting these right is the key to a successful, healthy batch of treats.
-
100% Pure Pumpkin Puree: This is a digestive superhero for dogs. The key here is to make absolutely sure you grab the can of 100% pure pumpkin and not pumpkin pie filling. The pie mix is packed with sugar and spices like nutmeg, which can be harmful to dogs. Pure pumpkin, on the other hand, is a fantastic source of fiber.
-
Dog-Safe Peanut Butter: Here's the most critical safety check. Your peanut butter must not contain xylitol. This artificial sweetener is extremely dangerous for dogs, even in small amounts. I always recommend flipping the jar over and reading the ingredients list. Look for a natural brand that contains just peanuts and maybe a little salt.
-
Whole Wheat Flour: This is what gives our treats that classic, crunchy biscuit texture. It’s a great, sturdy base for the dough and adds a bit of fiber, too.
-
Large Egg: The humble egg is our binder. It holds the dough together perfectly and adds a welcome boost of protein. Simple and effective.
Here’s a quick breakdown of what you'll need and the benefits each ingredient brings to the bowl.
Peanut Butter & Pumpkin Dog Treat Ingredients
A clear guide to the necessary ingredients, their quantities, and the nutritional benefits they provide for your dog.
| Ingredient | Quantity | Why It's Good For Your Dog |
|---|---|---|
| Pure Pumpkin Puree | 1 cup | Rich in fiber, which supports healthy digestion. |
| Peanut Butter | 1/2 cup | A great source of protein and healthy fats. Must be xylitol-free. |
| Whole Wheat Flour | 2 ½ cups | Provides structure for the treats and adds dietary fiber. |
| Large Eggs | 2 | Acts as a natural binder and adds extra protein. |
By being intentional with these four simple items, you ensure that every treat is not just a tasty reward but a healthy one, too.
The best part of baking for your dog is knowing exactly what’s in their food. You’ve hand-picked every ingredient, which means you can feel confident you’re giving them a snack made with nothing but love and care.
A Simple Guide to Baking Your Dog Treats
Alright, this is where the magic happens. You’ve got all your wholesome ingredients ready to go, and now it’s time to turn them into crunchy, tail-wag-worthy treats. Don't stress about making them perfect—this is supposed to be fun! The real prize is seeing how much your dog loves what you've made.
First, let's get that oven fired up. Set it to preheat to 350°F (177°C). This is the sweet spot for baking these treats until they’re perfectly crunchy without getting too dark. While it’s heating, grab a large baking sheet and line it with parchment paper. Trust me, this little step makes cleanup a breeze later on.
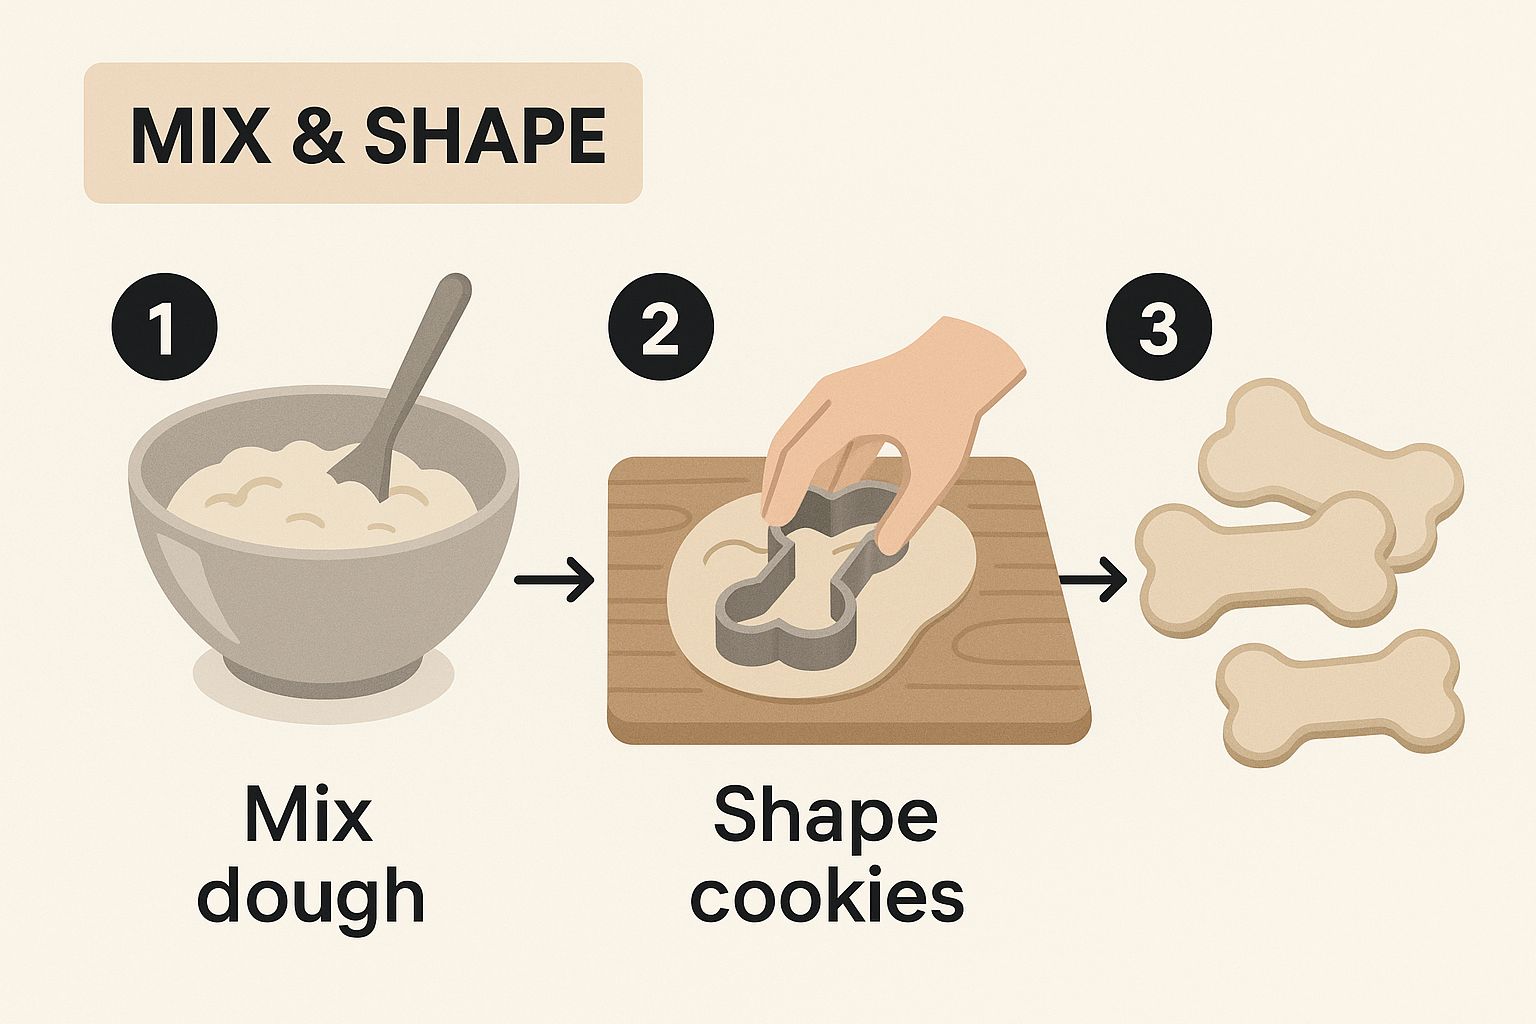
Mixing and Shaping Your Dough
In a large bowl, give your two large eggs a good whisk. Then, scoop in the half-cup of xylitol-free peanut butter and one cup of pure pumpkin puree. Stir everything together until it's well-blended and looks like a thick, creamy paste.
Now it's time for the flour. Start adding the 2 ½ cups of whole wheat flour gradually. I find it’s easiest to add it one cup at a time, mixing with a sturdy spatula. As you mix, the dough will get pretty thick and firm—that's exactly what we're going for. Once it becomes too tough to stir, just get in there with your clean hands and knead it a few times until it forms a nice, non-sticky ball of dough.
As you can see, getting the dough just right is the key to treats that bake evenly and have that satisfying crunch your pup will love.
Rolling and Baking to Perfection
Sprinkle a little extra whole wheat flour on a clean countertop or a sheet of parchment paper. Plop your dough ball down and roll it out to about ¼-inch thickness. I've found this thickness creates a treat that’s got a great snap to it but isn't too hard for older dogs or smaller mouths.
My Pro Tip: If the dough is sticking to your rolling pin, a light dusting of flour will solve it. On the other hand, if it seems too dry and is cracking, add a tiny bit of water—about a teaspoon at a time—until it holds together smoothly.
Now for the fun part! Use your favorite cookie cutters to cut out shapes and arrange them on your prepared baking sheet. Dog bone shapes are always a hit in my house. Since these treats don't spread much, you can place them pretty close together. Just gather up the scraps, re-roll the dough, and keep cutting until it's all used up.
Slide the baking sheet into the oven and bake for 20-25 minutes. You’ll know they’re done when the edges are a lovely golden brown and the treats feel firm. Keep in mind that baking times can vary a bit based on your oven and exactly how thick you rolled the dough.
Looking for more inspiration? Check out our other healthy dog treat recipes for your next baking adventure.
Storing Your Homemade Treats to Keep Them Fresh and Safe
https://www.youtube.com/embed/w4GuuUb0rt4
You’ve done it! The kitchen smells incredible, and you have a beautiful batch of treats cooling on the counter. Because our recipe skips the commercial preservatives, how you store them makes all the difference in keeping them fresh and safe for your pup.
First things first: let them cool completely. This is the single most important step. If you seal them up while they're still warm, you're trapping steam and creating a soggy, mold-prone environment. I know it's tempting to pack them away, but patience here will pay off.
Short-Term and Long-Term Storage
So, how do you keep them perfect? It depends on how quickly your dog will gobble them up.
- For the next few days (up to 1 week): An airtight container on the counter is all you need.
- For a couple of weeks (up to 2 weeks): Pop that airtight container into the refrigerator. This is my go-to for a standard-sized batch.
- For the long haul (up to 3 months): The freezer is your best friend. This is perfect for those big baking sessions. Just pull a few out to thaw at room temperature whenever your good boy or girl deserves one.
A friendly reminder: these are special snacks, not a substitute for a balanced diet. The golden rule is that treats should make up no more than 10% of your dog’s daily calorie count.
This approach—thinking about what's in the treat—is becoming more common. Many of us are now looking for "functional" treats that do more than just taste good, like dental chews or jerky made with high-quality ingredients. If you're curious about this shift, it's interesting to see the latest consumer insights about natural dog treats.
Ultimately, just be mindful. If you're giving treats regularly, you might need to slightly adjust your dog's main meals to keep them at a healthy weight. A happy dog is a fit dog
Getting Creative: How to Customize Your Dog Treat Recipe
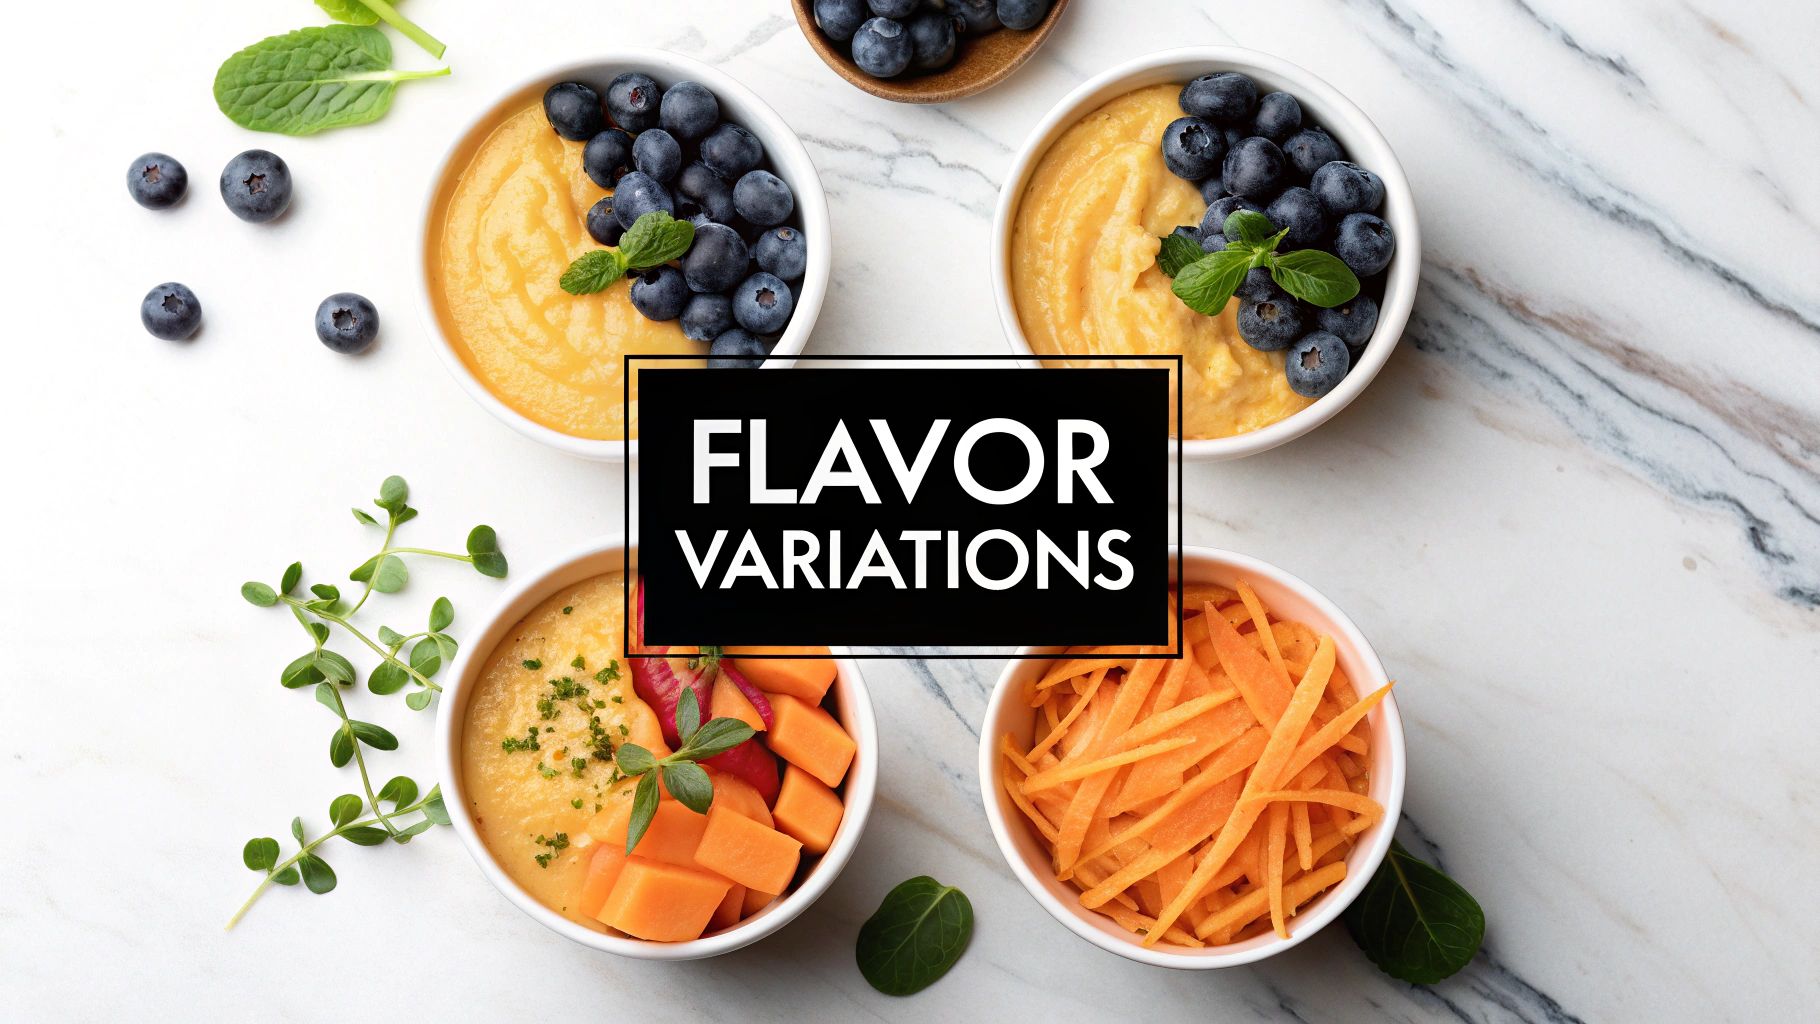
Once you’ve got the basic recipe down, this is where the real fun begins. Customizing treats isn't just about playing chef in your kitchen; it’s about tailoring every bite to your dog’s specific tastes and health needs. You can turn a simple snack into something truly special for your best friend.
Think of our core pumpkin recipe as a flexible blueprint. Is your dog not a pumpkin fan? No problem. Swap it out for an equal amount of mashed sweet potato or even banana for a sweeter profile. I often toss in some finely grated carrot or apple for an extra vitamin boost and a satisfying crunch—just be absolutely sure to remove any apple seeds first.
These simple adjustments keep things exciting for your pup. Plus, if you're looking for the best training treats for dogs, making your own customized, high-value rewards can be a game-changer. They'll be doing backflips for a treat made just for them.
Safe Swaps for Sensitive Pups
If you have a dog with a grain sensitivity, they don't have to miss out on the homemade goodness. Just substitute the whole wheat flour with a grain-free alternative. I’ve had great results with a few different options.
- Oat Flour: This is a fantastic, fiber-rich choice. You can even make it yourself by simply blitzing rolled oats in a blender until they’re fine.
- Chickpea Flour: This gluten-free flour is high in protein and works beautifully in more savory treat recipes.
- Coconut Flour: A solid option, but be aware that it's incredibly absorbent. You'll likely need to add a bit more liquid to get the dough consistency right.
The most important thing to remember when customizing your homemade dog treat recipe is safety. Always, always double-check that any new ingredient you want to add is non-toxic to dogs. It’s not the time to experiment with questionable foods.
Foods to Always Avoid
While it's fun to get creative, some human foods are dangerous and should never be included in your dog's treats. Keep this list handy and make your kitchen a "no-go" zone for these ingredients:
- Xylitol (an artificial sweetener often found in peanut butter)
- Onions, garlic, and chives
- Chocolate
- Grapes and raisins
- Macadamia nuts
- Avocado
It's amazing how easy it has become to find specialty ingredients online for specific dietary needs, like low-fat or allergy-friendly options. This move toward personalized pet nutrition is a huge reason the pet treat market continues to grow. It’s clear that pet owners everywhere are demanding better, healthier choices for their companions.
Got Questions About Baking for Your Dog?
Whenever you're trying a new recipe for your pup, it’s natural to have a few questions pop up. You want to get it right for your best friend, after all! Here are some of the most common things people ask when they start baking homemade treats, answered to help you bake with confidence.
First and foremost, a lot of people worry about ingredient safety. The golden rule is to always check with your vet before adding new foods to your dog’s diet, especially if they have any health conditions. They know your dog best. When in doubt about a specific ingredient, just leave it out.
Can I Make This Recipe Grain-Free?
You sure can! If your dog doesn't do well with grains, you can easily swap the whole wheat flour for a grain-free option. I’ve had great results with chickpea, almond, and coconut flour.
Just a heads-up: these flours behave differently and tend to soak up more moisture. You'll likely need to adjust the wet ingredients. I'd suggest starting with a little less pumpkin puree and adding more only if the dough seems too dry. The goal is a firm, pliable dough that isn't overly sticky.
Pro Tip: Start with 3/4 of the amount of grain-free flour the recipe calls for. Slowly add more until you get that perfect, non-sticky dough. This little trick helps you avoid a dry, crumbly mess.
What If My Dog Is a Picky Eater?
Ah, the discerning diner. We've all been there. Even the most delicious-smelling homemade treats can get a sniff and a snub from a picky pup. If your dog is a tough critic, sometimes a little extra something is all it takes to win them over.
Try mixing in a small amount of a high-value, dog-safe ingredient to make the treats impossible to resist. A few favorites that get tails wagging include:
- A tablespoon of finely grated cheddar cheese
- A small spoonful of unsweetened applesauce
- A little bit of crumbled, cooked bacon (the ultimate high-value treat!)
Remember to account for the extra calories from these tasty additions. You might want to cut back their regular meal portion just a tiny bit on treat days to keep their diet balanced.
At Joyfull, we believe that a healthy life is for every member of the family—including the furry ones. We’re passionate about creating snacks with clean ingredients and high-quality proteins, all scientifically reviewed for your peace of mind. Explore our products at https://joyfullpet.com and give your pet the very best.