

Healthy Cat Treats Homemade: Easy Recipes Your Feline Will Love
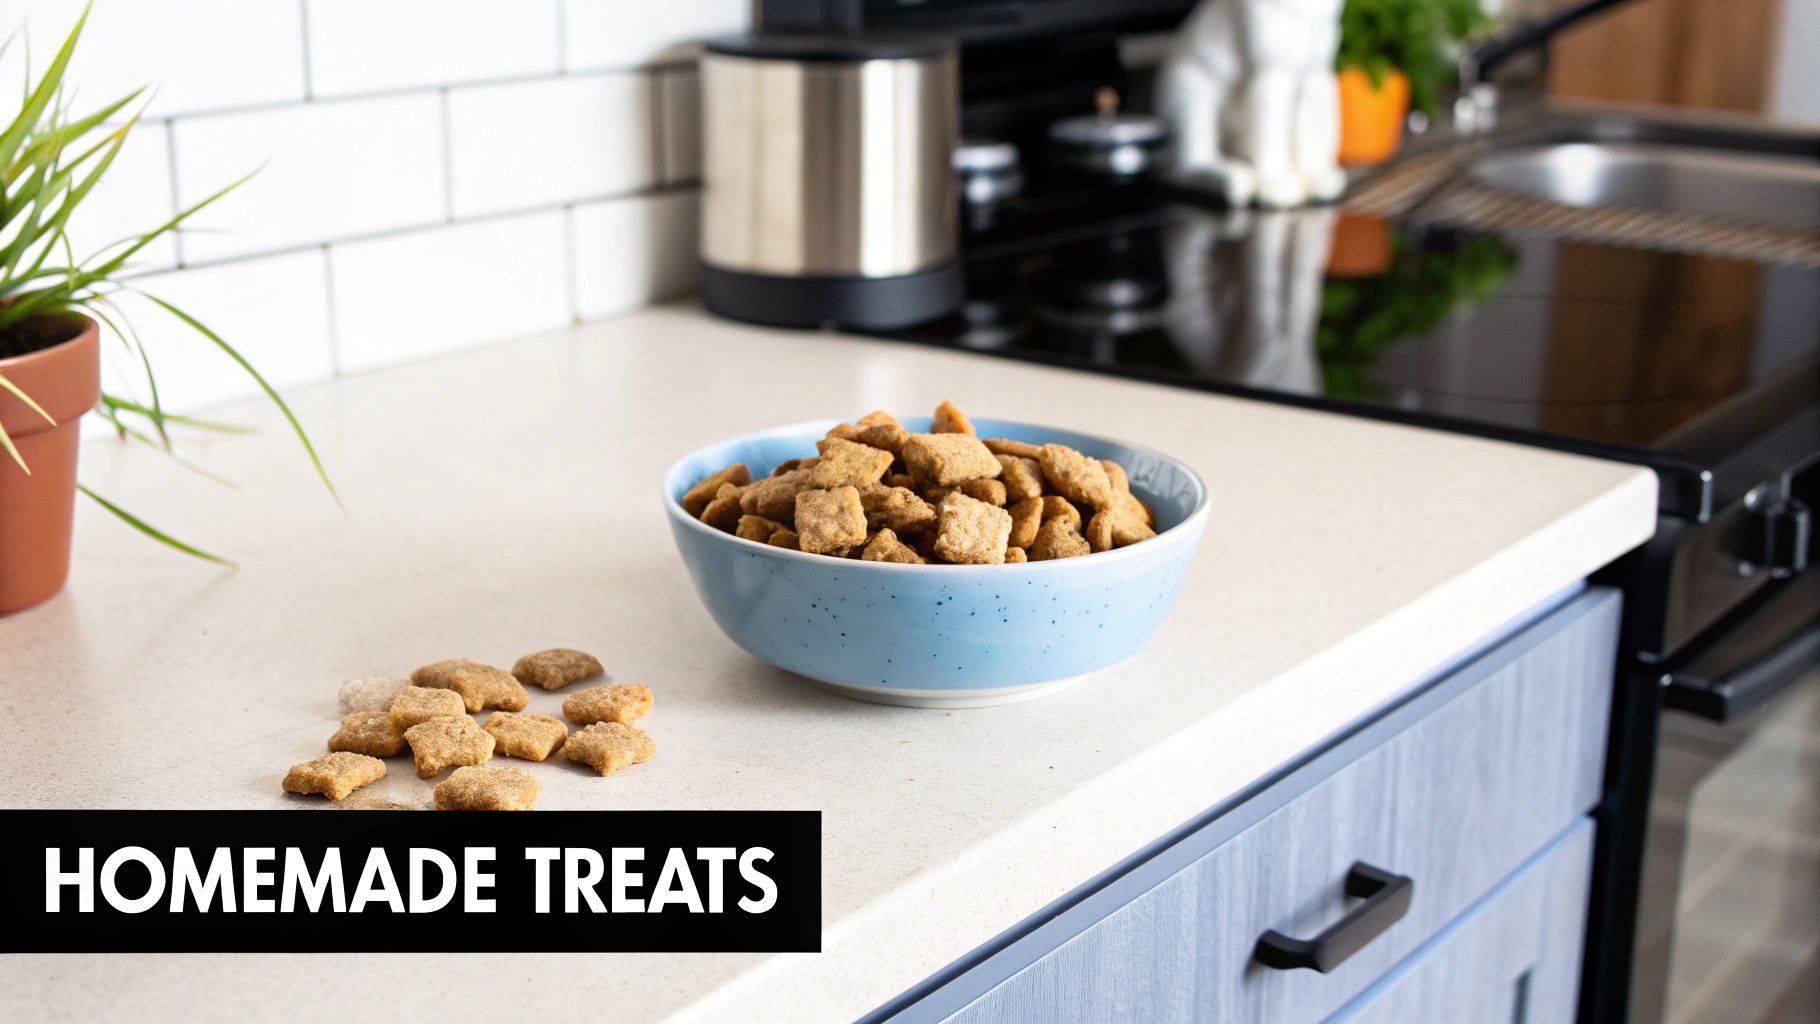
Making your own cat treats is one of the best ways to spoil your feline friend while keeping a close eye on their nutrition. When you whip up a batch in your own kitchen using simple ingredients like fresh chicken or fish, you sidestep all the weird fillers and artificial junk often found in store-bought options. It’s a simple act of love that ensures your cat gets nothing but the good stuff.
Why Homemade Treats Are a Healthier Choice
It’s only natural to want the very best for our cats, and that care extends directly to what they eat. Many of us started making treats at home after taking a closer look at the labels on commercial pet food. Let's be honest, reading through the long list of fillers, artificial preservatives, and mysterious additives can be a little alarming.
When you're the chef, you call all the shots. Choosing every single ingredient yourself is a game-changer for a few key reasons:
- You Know Exactly What's Inside: No more wondering about hidden fillers like corn or wheat gluten that don't offer much nutritional value. It's just pure, simple ingredients.
- No Nasty Additives: You can completely skip the artificial colors, flavors, and chemical preservatives like BHA and BHT, which have been linked to health concerns.
- Perfect for Sensitive Tummies: If your cat has a food allergy or sensitivity, homemade is the way to go. You can easily craft recipes that leave out potential triggers like dairy or certain proteins.
Tailoring Nutrition to Your Cat's Needs
Beyond just avoiding the bad stuff, making treats at home lets you add more of the good stuff. You can create snacks that directly support your cat’s specific health.
For example, a cat who needs to watch their weight can enjoy low-calorie, high-protein snacks you make yourself. Our guide on high-protein cat treats is full of ideas for crafting treats that help build lean muscle. Or, if your kitty has some digestive troubles, adding a little pumpkin puree for extra fiber is an easy fix. You just can't find that level of personalization in a bag off the shelf.
This hands-on approach to pet nutrition isn't just a trend; it's about treating our pets like the family they are. They deserve the same quality of food and care we'd want for ourselves.
You can see this shift happening everywhere. The global cat treats market, currently valued at around USD 3.2 billion, is expected to hit USD 5.1 billion by 2033. This surge is almost entirely driven by pet owners like us who are demanding healthier, more natural products with ingredients we can actually pronounce. Making your own treats is the ultimate expression of this desire for better, more thoughtful pet care.
Stocking a Cat-Safe Pantry
Before you even think about preheating the oven, let's talk about what goes into your cat’s treats. Getting your pantry ready with the right, feline-friendly ingredients is the most important first step. When you know everything on hand is safe, making treats becomes a fun, worry-free way to show your cat some love.
Start With High-Quality Protein
Cats are obligate carnivores, which is a scientific way of saying they are built to run on meat. This means protein isn't just an ingredient; it's the foundation of any good treat.
I always stick to simple, clean proteins. Plain, cooked chicken (no skin, no bones) is a universal crowd-pleaser. Cooked salmon or tuna are also fantastic choices, but make sure they're packed in water, not oil. These fish are loaded with essential amino acids, especially taurine, which is absolutely critical for your cat's heart and eye health.
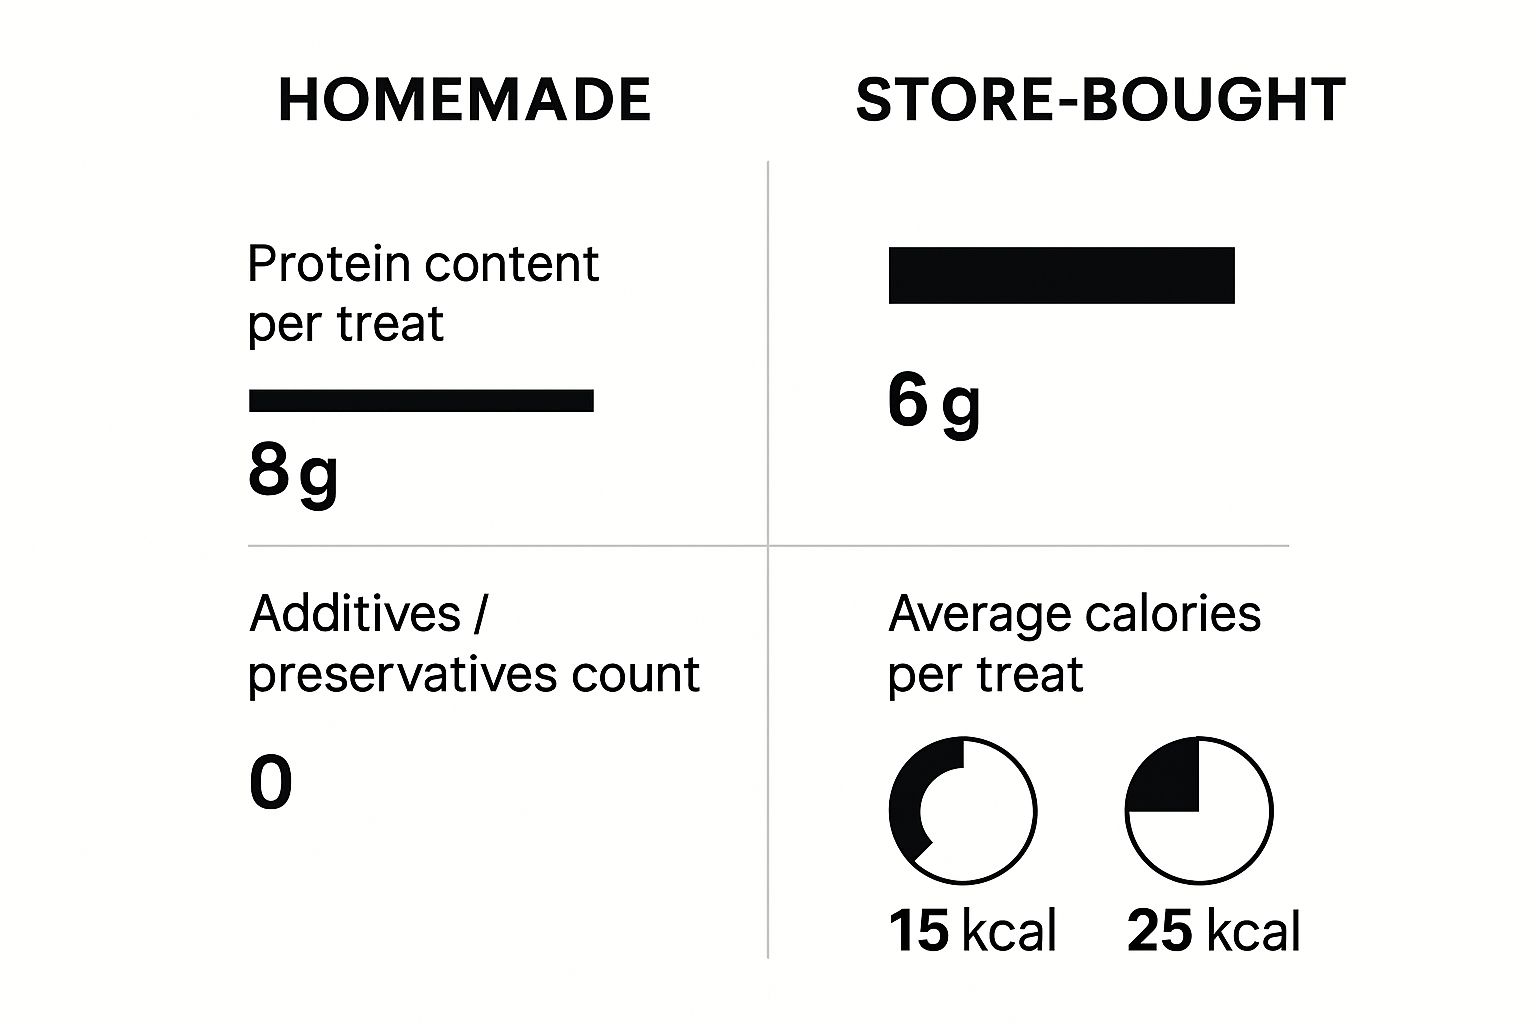
When you look at the comparison, it’s clear why so many of us are making the switch. Homemade treats let you pack in the good stuff—like protein—without all the fillers, extra calories, and preservatives found in many store-bought options. You're in complete control.
Weaving in Healthy Extras
While meat is the main event, a few other ingredients can add some great nutritional perks and help bind your treats together.
I often use rolled oats, which I just blitz into a fine powder in my blender. It’s an excellent, cat-safe flour alternative that provides B vitamins and fiber to help with digestion.
Another go-to in my kitchen is pure pumpkin puree. And I can't stress this enough: make sure it's 100% pure pumpkin, not the sweetened and spiced pie filling. A little bit of pumpkin is a well-known trick among cat owners for promoting digestive balance. It’s amazing how it can help with both constipation and diarrhea.
A key thing to remember is that treats are supplements, not meal replacements. Think of these healthy additions as little functional boosts to make snack time even better.
When I first started making my own cat treats, I dedicated a small bin in my pantry just for "cat baking." It held my bag of oats, a few cans of pumpkin, and some catnip. This simple trick prevented any mix-ups with my own groceries and meant I was always ready to bake.
Quick Guide to Cat-Safe and Toxic Foods
Knowing what not to use is just as crucial as knowing what to include. Many common human foods are toxic to cats, so it pays to be vigilant. I put together this quick-reference table to help you easily distinguish between what’s safe and what’s a definite no-go.
Quick Guide to Cat-Safe and Toxic Foods
| Food Category | Safe for Cats (In Moderation) | Toxic for Cats (Avoid Completely) |
|---|---|---|
| Proteins | Cooked chicken, turkey, salmon, tuna | Raw meat/fish, processed meats (deli meat) |
| Vegetables | Plain pumpkin puree, cooked carrots, peas | Onions, garlic, chives, leeks |
| Grains | Cooked rice, rolled oats, barley | Uncooked dough, large amounts of wheat |
| Dairy | Tiny amounts of plain yogurt (if tolerated) | Milk, cheese, butter |
| Other | Catnip, unsalted chicken/beef broth | Chocolate, caffeine, alcohol, xylitol |
Always double-check ingredient lists, especially on things like broth or canned goods, to screen for hidden dangers like onion powder or high sodium levels. Keeping this chart handy can give you that extra peace of mind.
2. Easy-to-Make Soft Tuna Bites Recipe

If you're after a guaranteed win, this recipe is it. It’s perfect for senior cats, kittens still getting their adult teeth, or any feline who just prefers a softer snack. I have to admit, this was one of the first homemade treats I ever made, and it’s still a go-to because it's practically foolproof. The soft, chewy texture has never failed to get a purr of approval.
The real beauty of these tuna bites is their simplicity. You only need a few cat-safe ingredients that you probably already have in your pantry. It’s a fantastic way to dip your toes into the rewarding world of baking for your pet.
Gathering Your Simple Ingredients
Before you get started, let’s get everything lined up. This recipe is all about quality over quantity, using a few wholesome ingredients that are actually good for your cat.
Here’s what you’ll need:
- 1 can (5 oz) of tuna in water, not oil. This is a big one. Tuna packed in oil adds extra fat and calories your cat just doesn’t need. Always stick to water.
- 1/4 cup oat flour. You can easily find this in most stores, or just make your own by blitzing 1/4 cup of whole rolled oats in a blender until you have a fine powder.
- 1 large egg. This is our binder. It holds everything together while adding a fantastic shot of protein.
- 1 tablespoon of finely chopped fresh parsley (optional). A little bit of parsley can help freshen your cat’s breath and adds some welcome green goodness.
And that’s it! Four simple things are all it takes to create a treat that’s both delicious and genuinely healthy for your furry best friend.
Here's a little tip from my own experience: I always do a "smell test." My cat, Leo, comes running the second he hears the can opener. If your cat seems curious about the ingredients on their own, you know you’re on the right track!
Mixing and Baking Your Tuna Bites
With your ingredients at the ready, it’s time for the fun part. This whole process is surprisingly quick, which means you can easily whip up a fresh batch whenever your cat deserves a little something special.
First things first, get your oven preheating to 350°F (175°C). While it’s warming up, line a baking sheet with parchment paper. Trust me on this—it makes cleanup a breeze and prevents any sticking.
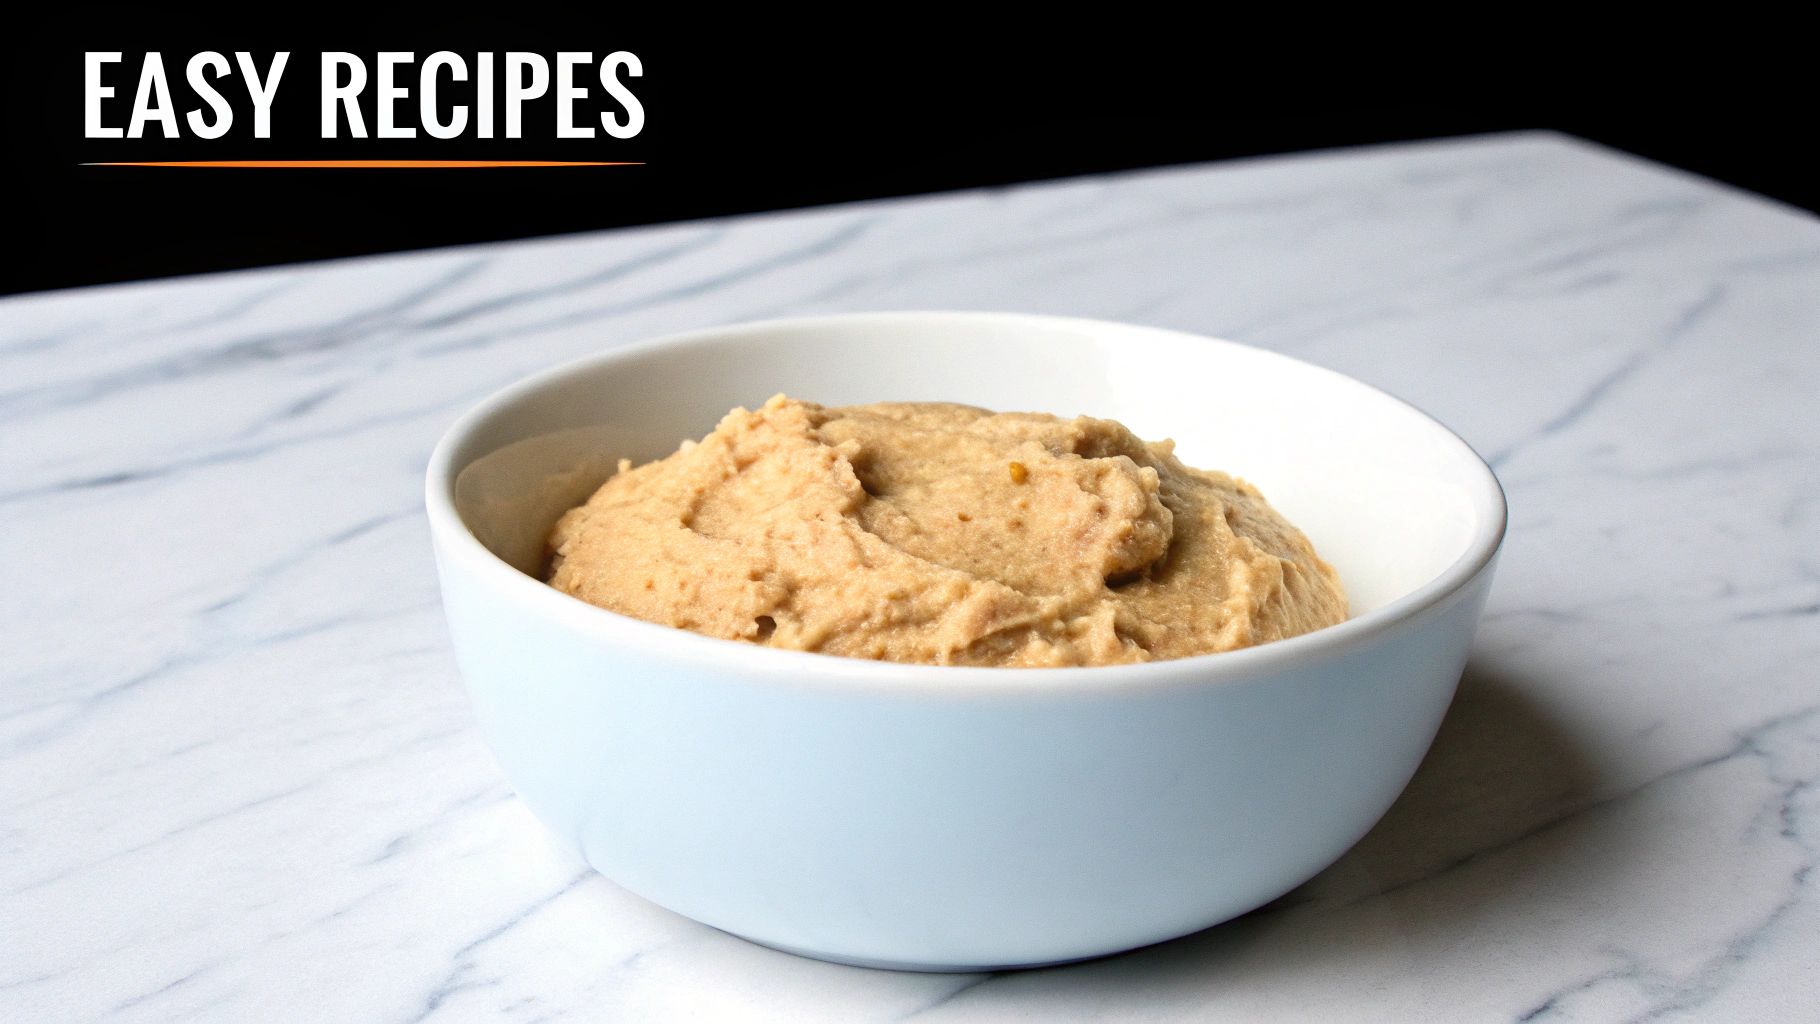
Now, grab a medium-sized bowl. Drain the tuna well and use a fork to flake it into small pieces. Add the oat flour, the egg, and the parsley if you're using it. Give it all a good mix until a thick, sticky dough forms. Don’t be afraid to get your hands in there; sometimes it’s the best way to get everything combined properly.
Next, you'll want to roll the dough into tiny, bite-sized balls. I aim for about a half-inch in diameter. Remember, these are treats, so keeping them small is key for portion control. Place them on your parchment-lined baking sheet and pop them in the oven.
Bake for 10-12 minutes. You’re looking for them to be firm to the touch but still a little soft on the inside.
Let the treats cool completely before you offer one to your very patient supervisor. For cats that might be a bit picky, focusing on high-protein cat treats is often the way to go, since that meaty aroma is almost impossible for them to resist. This tuna recipe is absolutely packed with protein, making it an excellent and nutritious reward.
Savory Crunchy Chicken and Oat Treats Recipe
While many cats love soft chews, some really go wild for a good crunch. This baked chicken and oat recipe is for them. It delivers that satisfying texture that not only gets them excited but also helps gently scrape their teeth as they chew.
I actually came up with this recipe because my own cat is a bit of a treat snob and flat-out refuses anything soft. He loves the texture of these, and I get peace of mind knowing they’re made from simple, wholesome ingredients. They’ve become a weekly baking ritual in our house.
Gathering Your Crunchy Treat Ingredients
You don't need to be a master baker or hunt down specialty items for this one. It's built on a few straightforward, cat-safe ingredients you might already have.
Here’s your shopping list:
- ½ cup of cooked, unseasoned chicken: Finely shredded or minced is best. Leftover baked chicken works perfectly, or you can just poach a small breast.
- ¾ cup of oat flour: Don't have any? Just blitz some regular rolled oats in a blender until you get a fine powder. Oats are a great source of fiber and B vitamins.
- 1 large egg: This is the glue that holds everything together and adds a nice protein kick.
- 1 tablespoon of unsalted chicken broth or water: This adds a little moisture and amps up the chicken flavor. Make sure it's unsalted—the sodium in regular broth is way too high for cats.
And that’s it! The beauty of these healthy cat treats homemade is their simplicity, making them a perfect starting point for any pet owner.
Crafting the Perfect Crunchy Snack
Got your ingredients? Great. Let's get baking. This part is fast, easy, and will fill your kitchen with a smell that will have your cat circling your feet in anticipation.
First things first, get your oven preheating to 350°F (175°C). Line a baking sheet with parchment paper—it makes cleanup a breeze.
In a medium bowl, just mix the shredded chicken, oat flour, and the egg. It’ll look like a crumbly mess at first, which is totally normal.
Now, slowly drizzle in the unsalted broth or water. Keep mixing until a stiff dough forms. You want it to be easy to handle, not sticky, so you might not even need the full tablespoon. Add it little by little.
My favorite trick: Roll the dough out between two sheets of parchment paper. It stops the dough from sticking to your rolling pin and helps you get a nice, even ¼-inch thickness for consistent baking.
Once it's rolled out, cut the dough into tiny pieces. A pizza cutter is fantastic for making little squares, or you can use a small bottle cap for circles. Honestly, your cat won’t care about the shape.
Spread the treats out on your baking sheet. Bake for about 15-20 minutes, or until they're golden brown and feel firm. For that perfect crunch and a longer shelf life, you want them to be completely dry when they cool down.
Let them cool on the sheet for a few minutes before transferring them to a wire rack to cool completely. Then, you can finally reward your very patient feline supervisor.
Storing and Serving Your Homemade Treats
You’ve baked a fantastic batch of homemade treats, and your kitchen smells amazing. Now, let's make sure all that hard work doesn't go to waste. Storing them correctly is key to keeping them fresh, tasty, and safe for your cat.
How you store them really comes down to the texture. For those crunchy, fully baked snacks like the Chicken and Oat Treats, you’ve got a bit more leeway. Just pop them in an airtight container and keep them in a cool, dark spot like a pantry. They should stay good for up to a week.
On the other hand, softer, moister treats—like those popular Tuna Bites—need to be refrigerated. Their moisture content makes them a target for spoilage, so an airtight container in the fridge is a must. They’ll stay fresh for about 3-5 days.
Extending Freshness with Cold Storage
Did you get a little carried away and bake a huge batch? No problem. Freezing is your best friend here, keeping your homemade goodies fresh for up to three months without any preservatives.
Here's the trick I've learned to avoid a frozen, stuck-together mess:
- Flash Freeze Them: First, spread the cooled treats out on a baking sheet in a single layer. Let them freeze for about an hour until they're solid. This is a game-changer.
- Bag and Label: Once they’re individually frozen, you can toss them all into a freezer-safe bag or container. Don't forget to label it with the date and what kind of treat it is—you’d be surprised how easily you can forget!
- Thaw and Serve: When your cat deserves a reward, just pull out a treat or two. Let them sit on the counter for about 15-20 minutes to thaw, and they're ready to go.
Before you hand over any treat, always give it a quick once-over. If you see any mold, notice a weird smell, or if the texture just seems off, toss it. It's always better to be safe than sorry when it comes to your cat's health.
Mindful Treating for a Healthy Cat
Serving these treats is just as important as how you make and store them. Even though they’re packed with good stuff, they are still treats. Think of them as special rewards for training, a little "I love you" snack, or a way to bond—not a meal replacement.
A good rule of thumb is that treats shouldn't make up more than 10% of your cat's daily calorie intake.
This thoughtful approach is a big reason why so many of us are making our own pet food. We want to control what goes into their bodies and cut down on the unnecessary fat, salt, and artificial additives. This is especially true if you have a cat with allergies or a sensitive stomach. It's a trend that's been gaining traction, as noted by industry watchers at GrandViewResearch.com.
If you want to focus on snacks that build strong muscles, our guide on high-protein cat treats is the perfect next step. This way, you can ensure every delicious bite is actually contributing to their overall well-being.
Common Questions About Homemade Cat Treats
It's completely normal to have a few questions before you roll up your sleeves and start baking for your feline friend. I've been there! Let's walk through some of the most common queries I get from other cat owners, so you can feel confident from the get-go.
Think of this as a quick chat to clear up any last-minute uncertainties. My goal is to give you practical, straightforward answers so your first batch of homemade treats is a roaring success.
How Many Homemade Treats Can I Give My Cat Daily?
This is the big one, and it's a super important question. The golden rule, which vets will echo, is that treats should make up no more than 10% of your cat’s total daily caloric intake. It’s a guideline that keeps treats in the "special reward" category where they belong.
So, what does that look like in reality? For a typical adult cat, it usually means just one or two small, homemade treats per day. I like to use them for bonding time on the couch or as a little bit of positive reinforcement, not as a meal supplement.
If you're ever in doubt about the right amount for your specific cat—based on their age, weight, or how much they zoom around the house—your vet is your best resource. A quick call can give you a precise calorie count to work with, taking all the guesswork out of it.
Sticking to this keeps your lovingly baked goodies from contributing to unhealthy weight gain.
Is It Safe to Use Flour in Cat Treat Recipes?
Yes, flour can be perfectly safe, but the key is choosing the right kind. A small amount of certain whole-grain flours works wonderfully to bind your treat dough together.
My personal go-to is oat flour. It’s incredibly easy to make yourself—just blitz some regular rolled oats in a blender until they’re a fine powder. I find it's gentler on a cat's digestion than wheat and packs in more fiber and B vitamins. Whole wheat flour is another solid option, provided you're sure your cat doesn't have any grain sensitivities.
- Good Choices: Oat flour, whole wheat flour, or even barley flour.
- Best to Avoid: All-purpose white flour. It's heavily processed and offers next to no nutritional value.
A good rule of thumb whenever you're introducing a new food, even a "safe" one like oat flour, is to start small. Offer a tiny piece of the treat first to see how your cat’s system handles it.
My Cat Is a Picky Eater. How Can I Get Them to Try These?
Ah, the finicky feline. Winning one over is a game of patience and strategy, and it usually boils down to understanding their favorite flavors and textures.
Start by picking a recipe that stars a protein you already know they go crazy for, whether that's tuna, salmon, or chicken. That familiar, savory smell is often half the battle. Texture is also a huge deal for cats. Some love a soft, chewy treat they can really sink their teeth into, while others are all about that satisfying crunch. This is exactly why I've included both soft and crunchy recipes—you can experiment to see what your cat prefers.
Here’s a pro tip: try warming the treat in your hands or for just a few seconds in the microwave. The warmth amplifies the aroma, making it much more appealing. Offering a small piece from your hand can also turn it into a special bonding moment. Most importantly, never force it. It can sometimes take a few tries before a cautious cat decides a new food is friend, not foe.
At Joyfull, we’re passionate about creating a healthier life for our pets. We build all our formulas with clean ingredients and high-quality proteins, because we believe every product should be genuinely beneficial. You can learn more about our commitment to pet wellness at joyfullpet.com.